One of my favorite things about cooking is playing with my food. Composing a salad, the perfect toast or (in this case) sushi, allows me to have fun each step of the way! For some, making your own sushi can sound daunting, but it’s actually simple. You don’t even need a sushi mat to make it (although it helps).
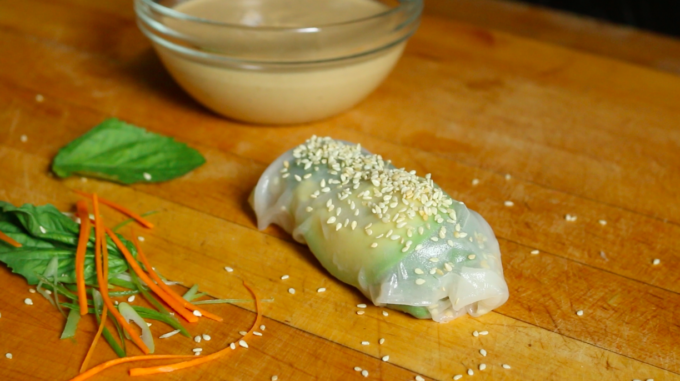
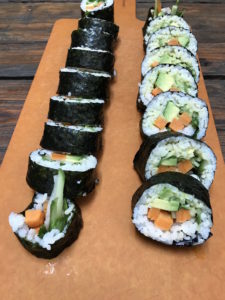
In this recipe, I made a vegan sweet potato and avocado sushi roll. Sushi is versatile, so play up your favorite flavor combinations! For the gals at What We Eat, we constantly make many variations of a carrot and avocado salad. So, in light of that inspiration, here is what we came up with!
What you’ll need:
A clean dish towel
Plastic wrap
A bowl of cold water (to help the rice not stick to your hands)
Sushi mat
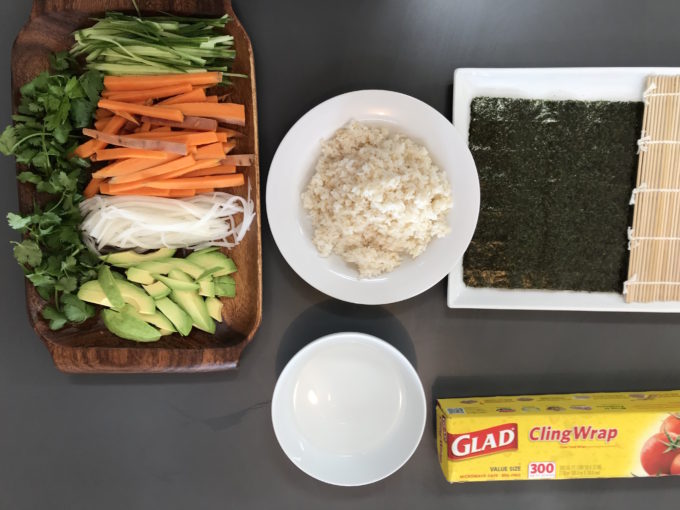
Ingredients
Nori sheets
2 cups sushi rice, cooked and cooled with a splash of seasoned rice vinegar
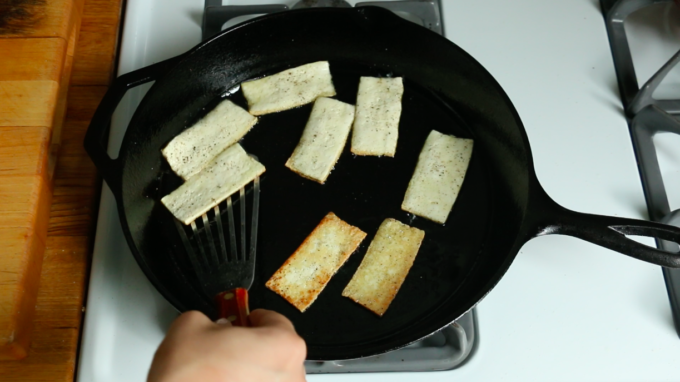
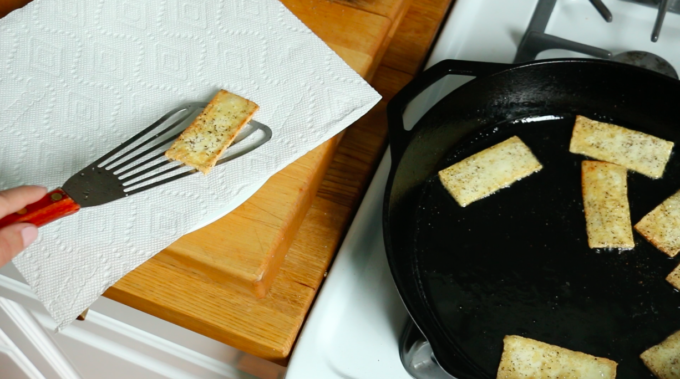
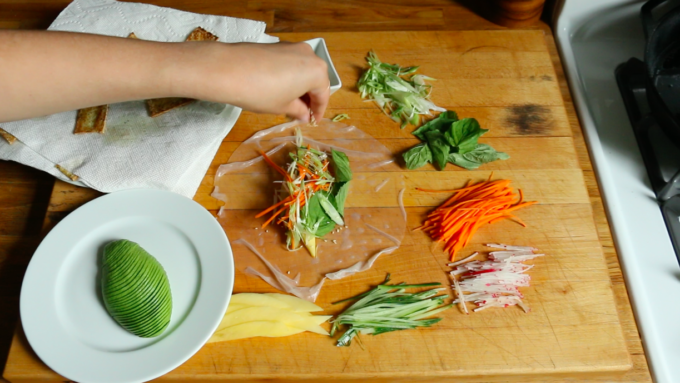
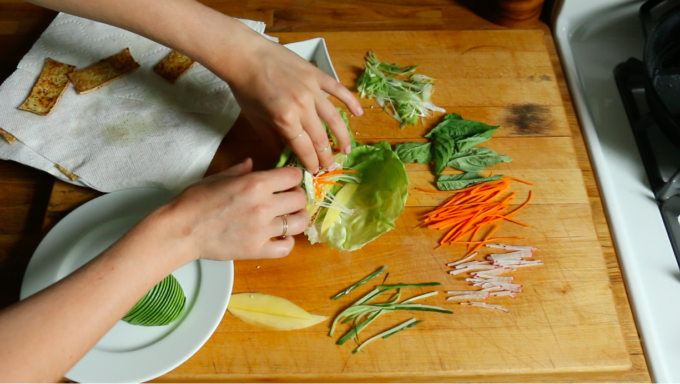
Julienned Vegetables of choice (I did sweet potato, cucumber, daikon, avocado, cilantro)

Method:
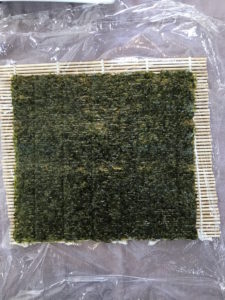
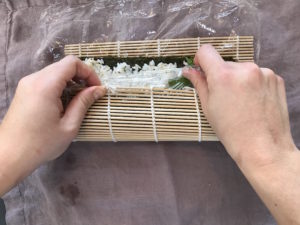
- Place a big square of plastic wrap on top of a sushi mat and place on top of a dish towel. (The towel is there to help with the mess). Place a single piece of nori on top of the plastic.
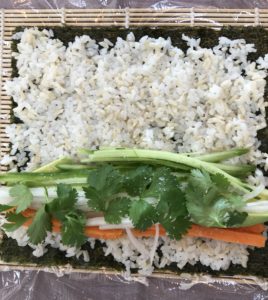
 2. With wet hands, place a decent size scoop of the rice onto the nori and press down until even thickness throughout. The water will help the sushi rice to not stick to your hands. Life hack!

3. Add vegetables of choice in a straight line about ⅓ of the way in. Sprinkle with a bit of salt and top with cilantro.
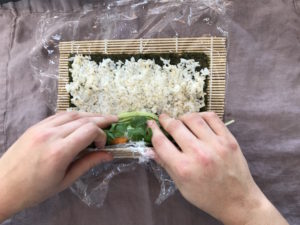
 4. Now the fun part! Using the sushi mat and plastic as a guide, tightly roll the sushi. Make sure the pressure is even when you roll to help prevent lumps. (Note: Chef hands in dire need of a paraffin treatment!!)
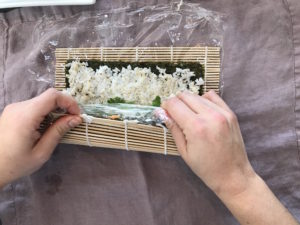
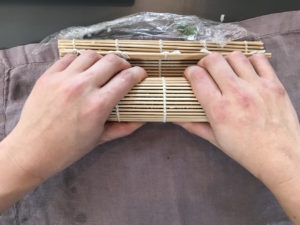
5. Allow to sit for 10 minutes rolled in the plastic before cutting.
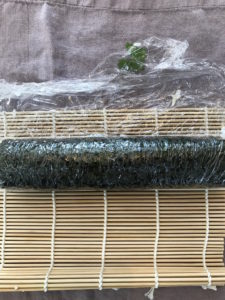
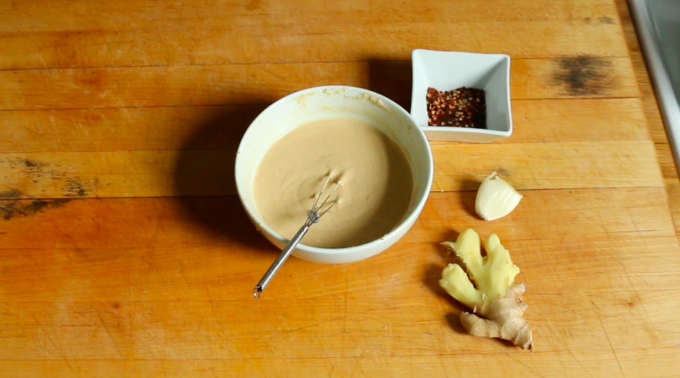
6. Slice sushi into 8 pieces and enjoy dipped in your favorite sauce.
With Love,
Rian