I think it is safe to assume that everyone has at least one guilty pleasure food that comes from a can or box. When I grew up, many families used to fully subsist on toaster strudels and kraft mac and cheese in favor of time and Convenience. For me, it was Spaghettio’s and hamburger helper. Once of my clients has mentioned that his Mom had a “special occasion” chili casserole that that used Velveeta as a base and Fritos as a topping. When you think about it, these processed foods are pretty awful, and now I can’t believe that I ate so much instant Ramen as a growing child in need of nutrients. Unfortunately, even with this retrospective knowledge, I still can’t help but crave some of my childhood favorites every now and then.
This past weekend proves case and point. After a long day catering a very fun and intimate dinner party, Rian and I craved some easy comfort. Seeking the only open grocery store at midnight, we loaded up on Annie’s mac and cheese, Chicken flavored Ramen, and Cinnamon toast crunch. While the cereal definitely lived up to its expectations, we were saddened to find that the mac and cheese tasted like cardboard and the ramen tasted like flavored salt. Now that we know better as experienced food snobs, we could recognize how inferior these powdered, dehydrated and condensed versions of food really are in comparison to the real deal.
This was a moment when I realized how being a chef has changed my life and habits. Without even talking about it, Rian and I set about doing whatever we could to improve upon the flavor of each dish and cajole them into giving us the flavor experience we remembered from childhood. The mac and cheese received grated gruyere, chili flakes and garlic while the ramen transformed into a mediocre resemblance of pho with cilantro, mint, basil, scallions and lime juice.
If only there were a way that we could still enjoy our childhood favorite foods but in a less guilty manner. I finally realized that we can take our favorite aspects of each meal we used to love and then transform them into a more wholesome version. One might sacrifice some extra time but benefit from better ingredients, flavor, texture and nutrition. For example, why not transform the above mentioned chili casserole by using fresh grated fontina and cheddar cheeses, a combination of home cooked beans, and a homemade charred corn crumble topping.
On the topic of casseroles, I find myself to be somewhat of an expert. Hailing from Minnesota, we masters of the slow cooker and “hot dish” meals. My absolute favorite was the classic green bean casserole, which included Campbell’s condensed mushroom soup and a can of crispy fried onions. In light of the coming holidays and my recent revelations, I have decided to experiment with my theory on elevating a classic by creating a What We Eat version of my favorite casserole using only fresh ingredients.
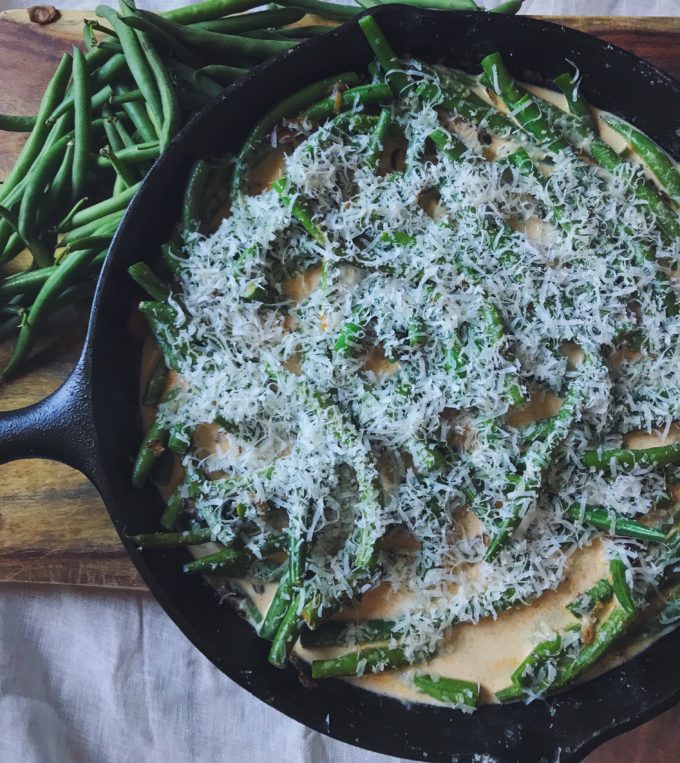
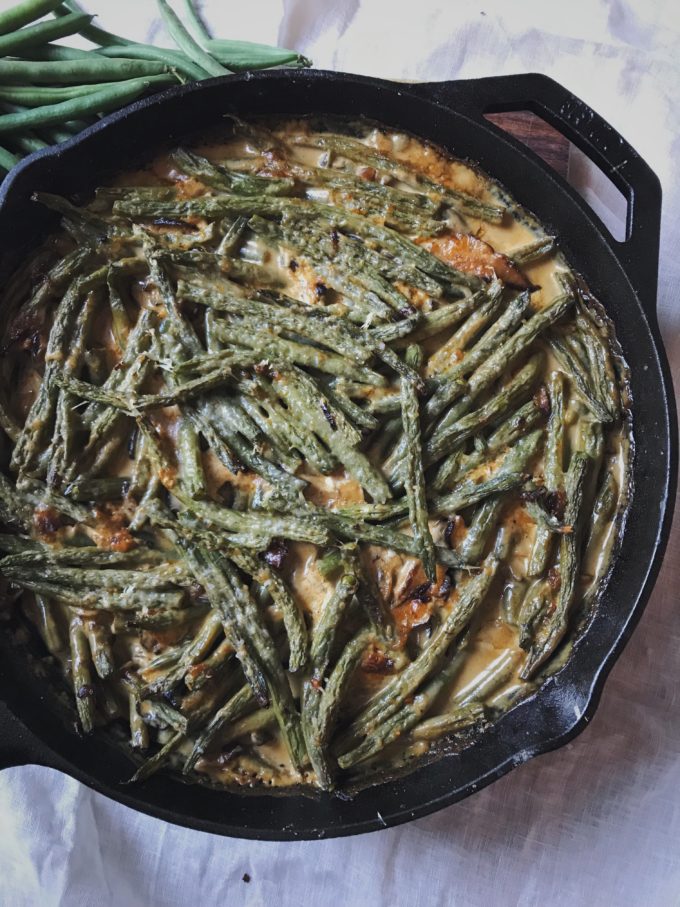
GREEN BEAN AND MUSHROOM CASSEROLE
Ingredients
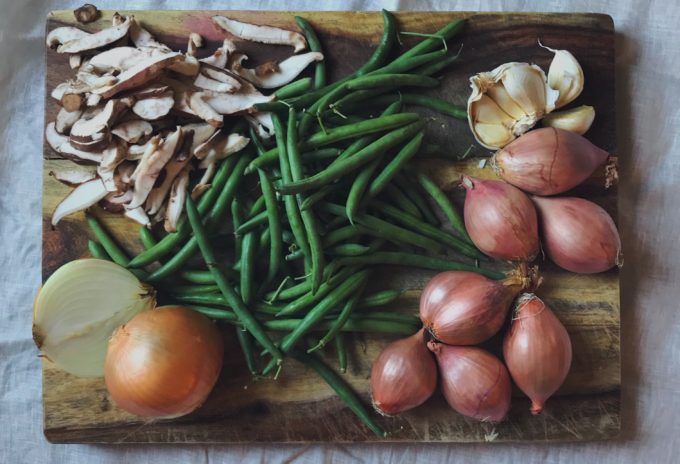
2 lbs green beans, trimmed
8 ounces mixed mushrooms of choice
6 shallots (canola oil to pan-fry)
5 cloves garlic
1 onion
2 cups chicken stock
1 cup heavy cream
¼ cup grated parmesan cheese
2 tablespoons flour
2 teaspoons salt
1 teaspoon smoked paprika
½ teaspoon cayenne pepper
¼ teaspoon nutmeg
pepper to taste
Method:
Preheat the oven to 400 degrees.
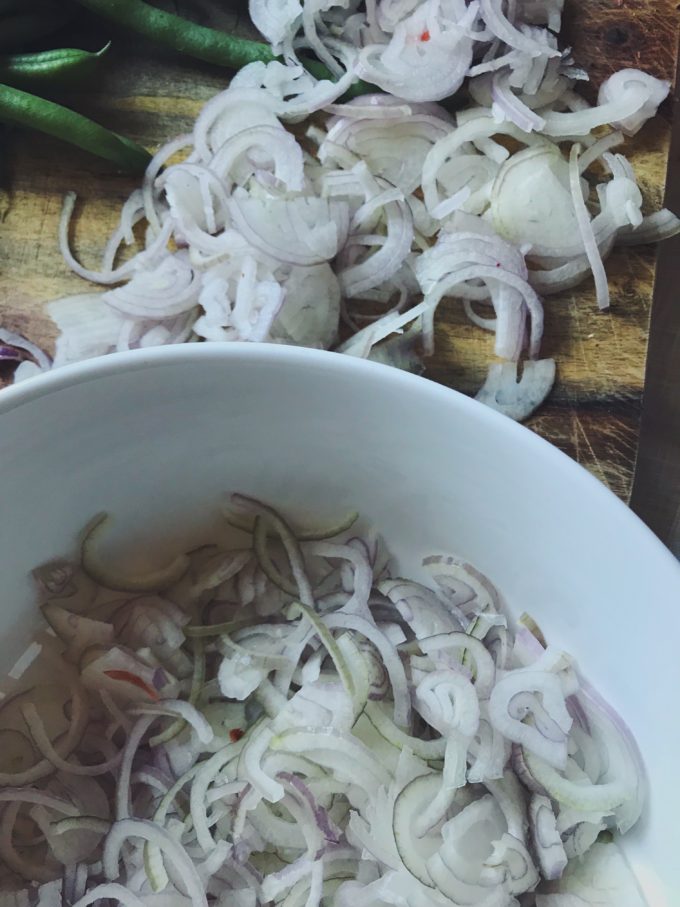
Thinly shave the onion and and garlic. Caramelize the onion in a well oiled skillet. When the onion has achieved some color, add the mushrooms and cook until they have reduced and become slightly caramelized. Add the garlic and stir until aromatic. Add the flour, smoked paprika, cayenne pepper and nutmeg and stir until aromatic.
Slowly pour the chicken stock and heavy cream into the skillet while stirring to combine. Toss the green beans into the skillet and stir all ingredients until just mixed. Top with an even layer of grated parmesan and bake uncovered for 30 minutes.
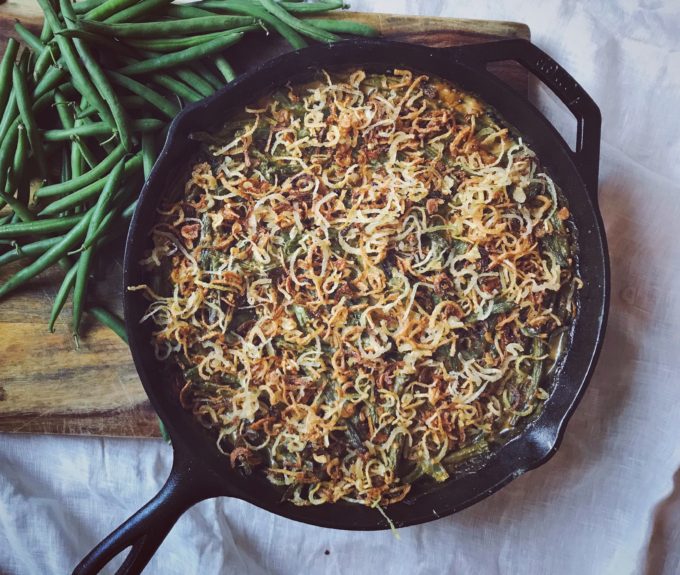
Meanwhile, pour a one-inch layer of canola oil into another skillet and heat on high heat. Shave the shallots very thinly. Working in small batches, fry the shallots until crisp and lightly browned. Transfer to a paper towel lined plate to dry. Season with salt.
When the Casserole is bubbling and cooked through, remove from oven to let sit for ten minutes. Top with Crispy shallots to serve.
Serves 6
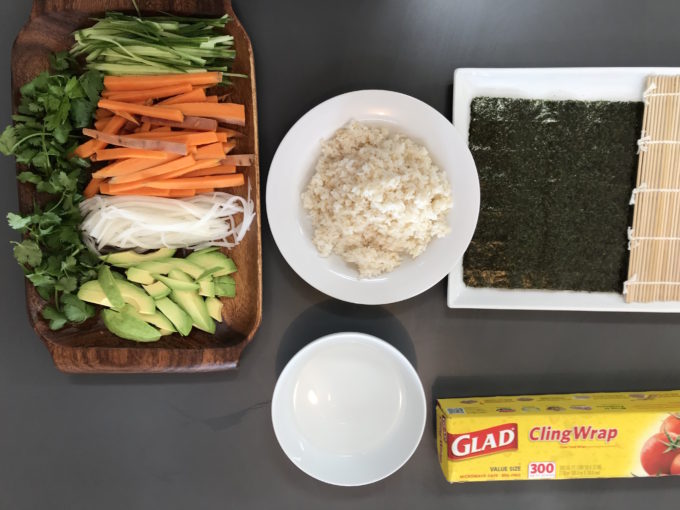

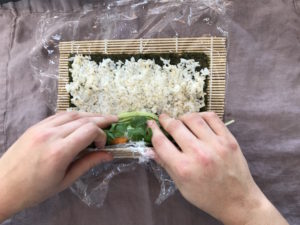
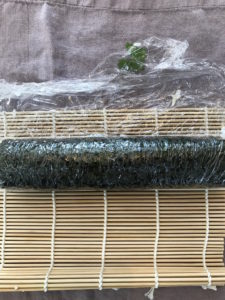
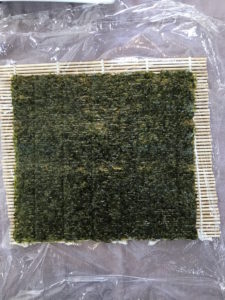 2. With wet hands, place a decent size scoop of the rice onto the nori and press down until even thickness throughout. The water will help the sushi rice to not stick to your hands. Life hack!
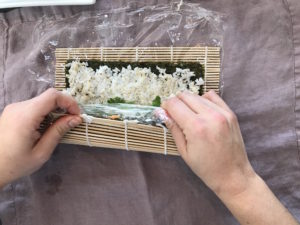
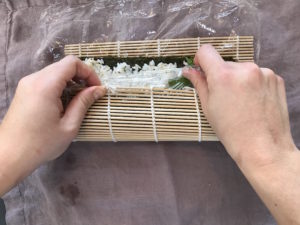
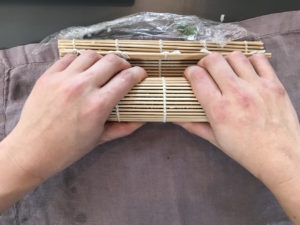
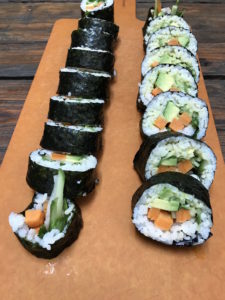
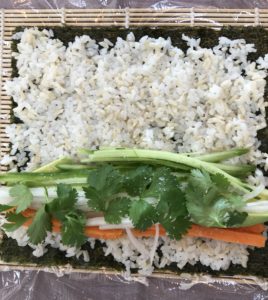 4. Now the fun part! Using the sushi mat and plastic as a guide, tightly roll the sushi. Make sure the pressure is even when you roll to help prevent lumps. (Note: Chef hands in dire need of a paraffin treatment!!)