Homemade Syrian Bread

I didn’t know much about Syrian cuisine until about a month ago when we decided to host our #CookForSyria dinner. And I definitely didn’t realize how cooking and sharing their food would give me such an innate sense of community.

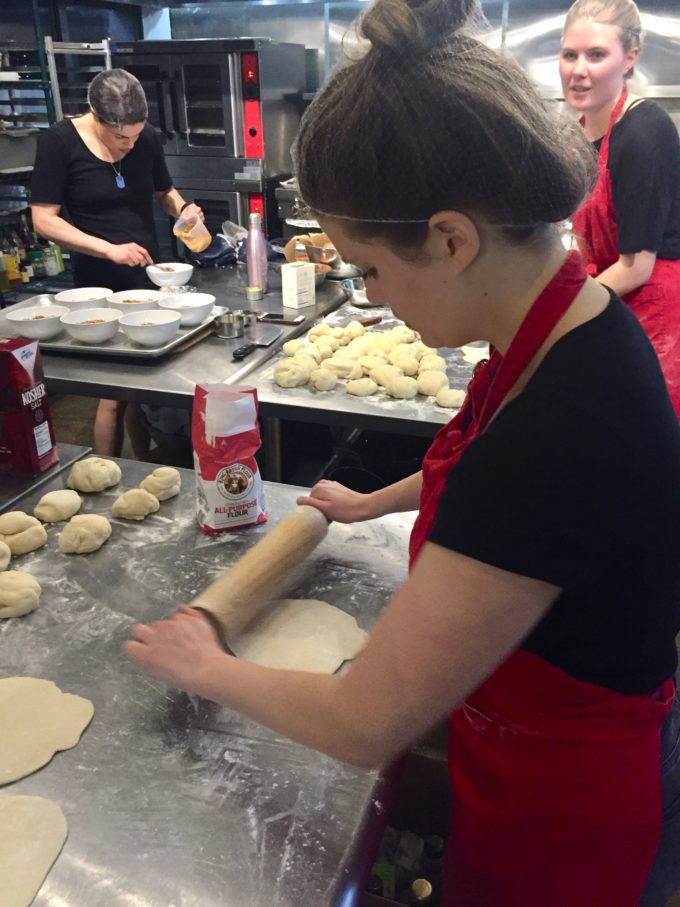
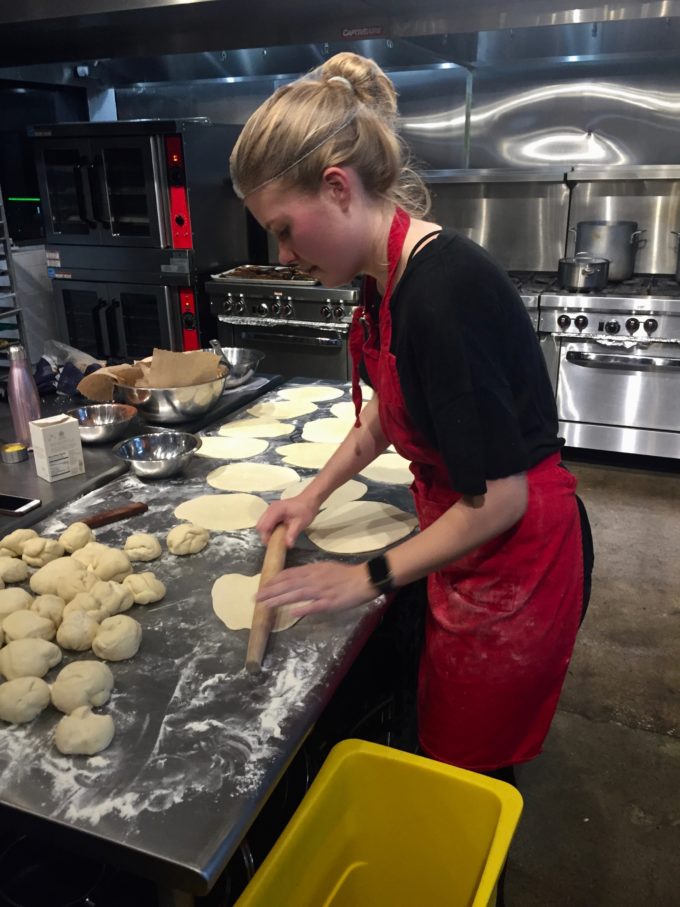
While the rest of the crew was rolling falafels balls, mandolining thousands of root vegetables for a slaw and grilling dozens of red peppers for muhammara, I was tasked with making one of the most important components of the menu: the pita. It was also perhaps the least exotic or hard-to-pronounce item on the menu (still trying to figure out how to pronounce mejadra), second only to hummus. Indeed, pita has become a household staple in the U.S. and you don’t need to have any knowledge of what’s happening in the Middle East to get your hands on some. It’s stocked at every grocery store and bodega nationwide.

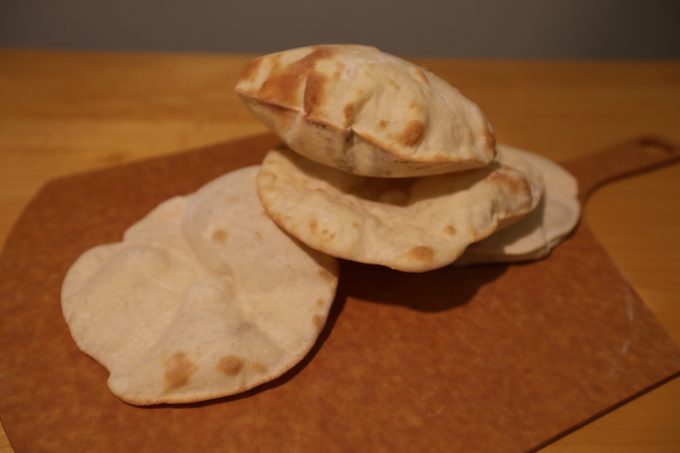
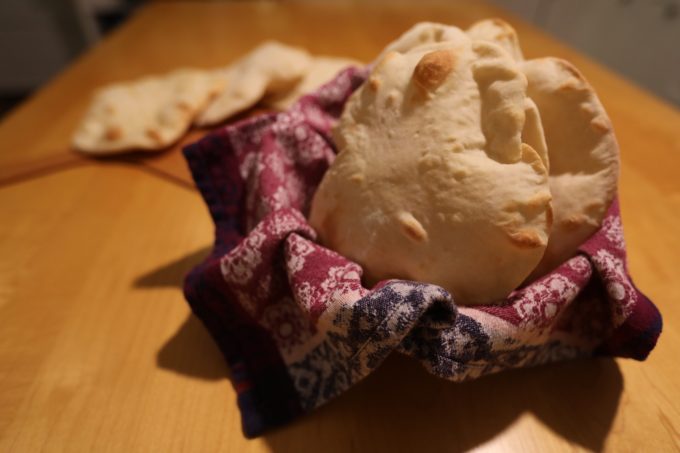
In Syria, pita is even more common but it’s not something you just add to your grocery list. It’s most often kneaded by hand from fermented dough and baked over a fire-pit in the backyard. In our attempt at authenticity, we insisted that ours be homemade too. Even with a commercial grade oven and food processor, turning out 100+ pitas was far from easy.


With tables set and guests buzzing, I was still zipping across the kitchen with dough and flour on every surface, including myself. The perfect assembly line I’d envisioned was well out the window. Lucky for me, our guests were distracted with drinks and nibbles so this controlled chaos wasn’t on full display. It wasn’t until I finally sat down (and took a much needed breath) that I realized how extraordinary the pita I worked so hard to make really was.

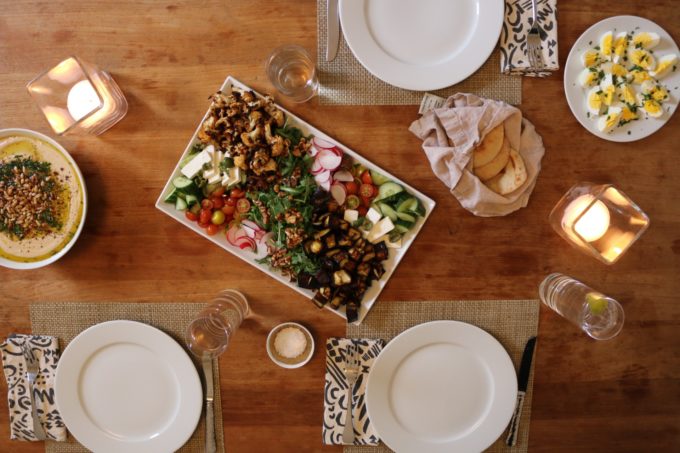
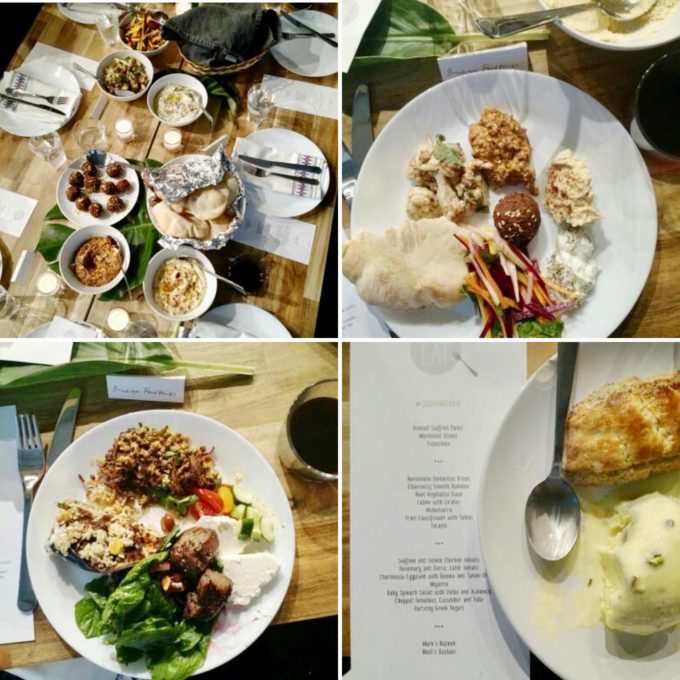
My plate resembled a painting of dolloped dips and spoonfuls of slaw. My pita was the brush stroke that drew it all together. I was literally sitting, staring at my plate thinking, Wow, this dish is the ultimate symbol of chaos, harmony and humility all wrapped up in a pita. My humble pita was nothing more than a vehicle to bring flavors together, however it feels like there’s an overarching metaphor at play here too. For most of us, including those that attended our #CookForSyria dinner, it’s hard to imagine a life wrought by distress, violence and injustice, but that’s the reality that Syrian refugees and displaced citizens face almost every day. Bringing people together was not only meant to raise money and try Syrian cuisine, it was about creating a space for cultures to collide and appreciation and compassion to ruminate. When the dinner was all said and done, that was the most magic element I felt in the room and on the plate.

With Love,

Charlotte

Syrian Pita Bread Recipe (from Food & Wine with my own added instructions):

Makes about 16 pitas

Ingredients:

  • 3/4 cup warm water
  • 1 1/2 envelopes (3 3/8 teaspoons) active dry yeast
  • 6 cups bread flour
  • 1 1/2 teaspoons salt
  • 1 1/2 cups warm milk
  • Extra-virgin olive oil, for the bowl

Method:

Set a pizza stone (or an upside-down sheet tray) on the bottom rack of the oven and preheat the oven to 500 degrees or as high as it will go.

In a bowl, combine the warm water and yeast and let stand until foamy, about 10 minutes.

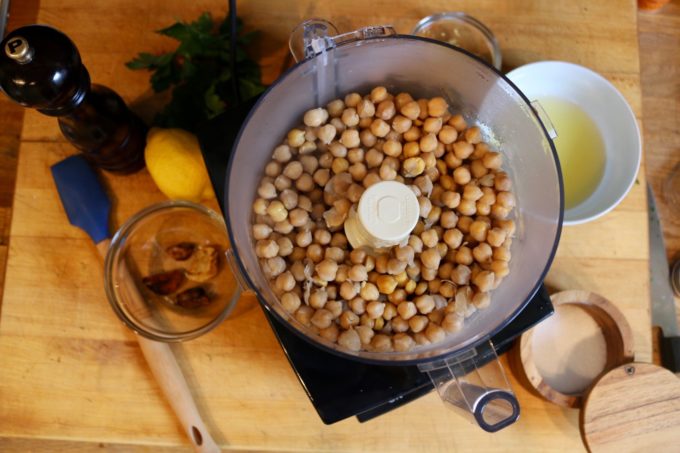
Meanwhile, in a food processor, pulse flour and salt until combined.

With the machine on, pour in the yeast mixture and then the warm milk and process until the dough forms a ball. Turn the dough out onto a lightly floured work surface and knead it a few times. Form the dough into a ball.

Pour about ¼ tsp. oil into a large bowl and transfer the dough to the bowl and turn to coat. Tightly cover the bowl with plastic wrap and let the dough rise in a warm place until doubled in size, about 1 hour. You can also do this step ahead of time and allow the dough to rise halfway and then move it to the refrigerator to slow the rising process down up to 12 hours or overnight! An hour before it’s time to bake, take the dough out to come to room temperature and continue to rise completely.

Lightly dust a work surface with flour. Punch down the dough and cut it in half. Cut each half into 8 pieces and roll them into balls, then flatten into 6-inch rounds. Arrange the rounds on the work surface. Let rise until puffy, 25 minutes.

Using a lightly floured pizza peel, slide 4 of the rounds onto the hot pizza stone or baking sheet at a time and bake for about 5 minutes, until the pitas puff up. Each oven is different so times may vary. (With the oven we used, it only took a minute or two.) Keep an eye on the pitas and take them out the moment they puff up and barely begin to brown. Serve hot or wrap in foil to keep warm.

New Year’s Practice is the New Resolution: Homemade Hummus

Mediterranean Hummus with roasted pine nuts

We made it through the holidays and toasted to the New Year, now it’s time to get to work on our resolutions. Although a resolution implies that we want to make positive changes in our lives, I think oftentimes we get caught up in more negative connotations. It’s like we’re saying that the 2016 version of ourselves wasn’t enough and we need to be smarter, richer, thinner, you name it, this year.

Hummus with pine nuts and parsley

So, in 2017, instead of a resolution, I’m setting a “practice”. Mahatma Gandhi famously said, “an ounce of practice is worth more than tons of preaching.” In order to make lasting changes in your life you need to practice and practice makes perfect right? My practice is food related, but instead of eliminating bad foods from my diet, which would bring us down the negative resolution path, I’m choosing to view my goals as a learning experience. So here it is: In 2017, I will savor anything my heart desires as long as it’s homemade. And I don’t have to be perfect.

Mediterranean Hummus

More than anything, this will allow me to learn. With each passing day I spend as a chef, I discover more about how much there is to learn. For me, that mean’s doing. I could read every word of every cookbook on my shelf (33 of them, but who’s counting?), but to retain the information and knowledge of my cooking heroes, I need to make stuff and practice what my teachers preach. So, with my practice, I’ll kill two birds with one stone: I’ll respect my every day cravings (brioche buns, cappuccinos…) and teach myself how to make the things I eat that aren’t homemade. It may seem like a tall order but ultimately I’m hoping to make it a part of my routine, second nature, like riding a bike.

Pine nuts for Mediterranean Hummus

The first step to forming a new routine is setting boundaries and guidelines. Here are mine…

  • This is not a cleanse, but a clean-out! I’m ridding my pantry of all processed foods and filling it with the bare necessities. In an excerpt from Laura’s post about habits, Strengthening Willpower Starts at Home, she writes, “Don’t buy it. Clearly the easiest way to resist temptation foods in your home is to not allow them entry in the first place.”
  • If I’m craving it, make it! It’s my hope that by taking the time to make something like ice cream from scratch, I’ll actually wind up enjoying it more. Not to mention, there’s probably an added benefit of wanting to make homemade things last longer because savoring food means you’re eating less.
  • Make it in bulk and freeze your heart out! Many menu-planning-star-students have mastered this craft already and for this practice it’s absolutely necessary in a household with full workweeks. This means hardening off a few hours of my Sundays to making bulk snacks, freezer-friendly meals and prepped menu goodies. This would include things like our Olive Oil Salty-Sweet Granola, freshly blended hummus, homemade pita, frozen smoothie mixes, meatballs and soups, as well as portioned salad ingredients like toasted nuts and mandolined veggies (the way we do for our clients). This makes the task of piecing it all together after a long day a piece of cake.
  • Ask for help and help others! Sometimes it feels like it takes a village to put dinner on the table so it’s helpful to know how to delegate. I live with my boyfriend, a notoriously reluctant cook, who has really stepped up to the plate (pun-intended) in recent months and has even come up with a few of his own individual home-cooking goals. Teaching is another great tactic for retaining kitchen knowledge so entertaining is also permitted!
  • Let dining out be motivating, not shameful! Most of my inspiration and passion for cooking comes from experiencing new cuisines and keeping up with trending dishes. I live in NYC for goodness sake! When it’s all said and done by limiting my food-exposure, I’m undermining my curiosity as a chef and isn’t that the whole point of my new practice?

Mediterranean lunch

So here’s to 2017! I’m wishing you all a delicious, homemade food-filled year ahead. First task? Getting rid of that awful store-bought tub of hummus and giving mine a go.

Charlotte’s Homemade Mediterranean Hummus

  • 1 15-oz cans chickpeas, drained
  • 1 tsp. baking soda
  • 2/3 cup tahini paste
  • Juice and zest of one lemon
  • 3 tsp. kosher salt, or to taste
  • 1 cup ice water
  • 3 cloves garlic, smashed
  • 3 tbs. good olive oil (approximately)
  • 2 tbs. fresh parsley, finely chopped
  • Pinch crushed red pepper, or to taste
  • Salt and pepper to taste
  • 3 tbs. pine nuts, toasted

Method:

  1. In a medium sauce-pan over medium heat mix chickpeas and baking soda, stirring constantly for 2-3 minutes until the baking soda has dissolved.
  2. Add enough water to cover the chickpeas and bring to a boil. Simmer until the chickpeas become really soft, but not mushy. Strain off the shells that float to the surface.
  3. Strain and transfer to a blender or food processer and process until the mixture resembles a paste. It’s okay if it’s lumpy.
  4. With the blade spinning add in lemon juice and ½ the zest, tahini paste, salt and gradually pour in the ice water (with ice cubes) until the mixture becomes smooth and silky. You may need more or less water depending on the power of your blender so watch carefully.
  5. Meanwhile heat a small skillet with the olive oil until hot. Add the crushed garlic cloves allow them to sizzle and brown on both sides pushing them down with the back of your spatula, about 5 minutes.
  6. Reserve the excess oil in a small mixing bowl to cool and drop the sautéed garlic into the food processor and blend until combined. Taste and adjust seasoning.
  7. Once the oil has cooled add parsley, crushed red pepper, lemon zest, pepper and a pinch of salt. Stir until combined. Add extra oil to loosen if necessary.
  8. Spoon hummus into a serving dish and pour the parsley-oil over. Finish with a sprinkle of toasted pine nuts and enjoy!

With love, Charlotte